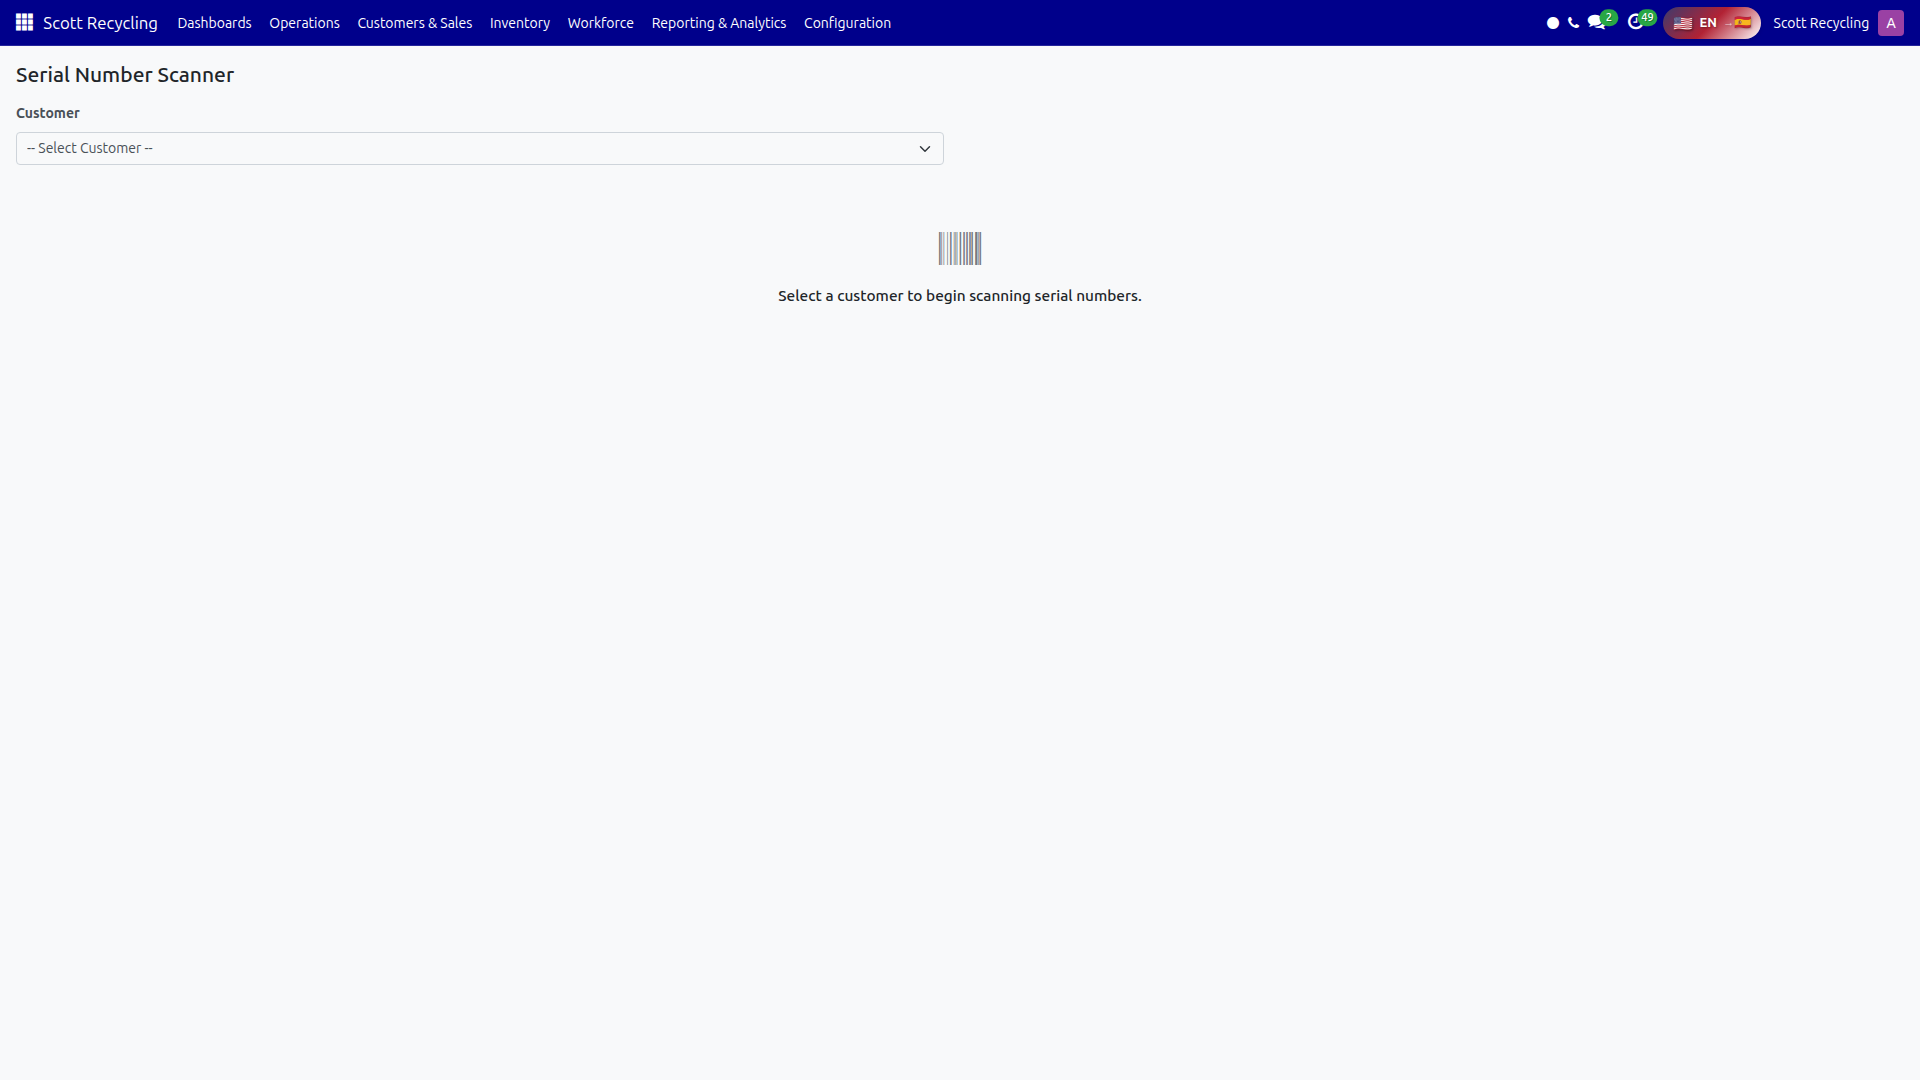
Serial Number Scanner
Last Updated: February 2026 Target Audience: Warehouse/QA Staff
The Serial Number Scanner lets you record device serial numbers against specific pickups. Scan barcodes or type serial numbers manually, and the system tracks who scanned each serial and when.
Navigation: Scott Recycling > Reporting & Analytics > Operations > Serial Number Scanner
Workflow
Step 1: Select a Customer
Choose a customer from the dropdown. The system loads all customers with pickups.
Step 2: Select Pickups
After selecting a customer, a table of their pickups appears:
| Column | Description |
|---|---|
| Checkbox | Select pickup for scanning |
| Pickup ID | Pickup identifier |
| Date | Pickup date |
| Status | Current pickup status badge |
| Boxes | Actual box count |
Check one or more pickups, or click Select All to include all pickups.
Step 3: Start Scanning
Click Start Scanning to activate the scanning interface. The input field auto-focuses for immediate barcode scanning.
Step 4: Enter Serial Numbers
- Barcode scanner: Scan a barcode — the serial number is captured automatically and added when Enter is sent by the scanner.
- Manual entry: Type the serial number and press Enter or click Add Serial.
Each serial is saved immediately to the server and appears in the table below.
Scanned Serials Table
| Column | Description |
|---|---|
| # | Row number |
| Serial Number | The scanned or entered serial |
| Pickup ID | Which pickup this serial is linked to |
| Scanned By | User who performed the scan |
| Date | Timestamp of when it was scanned |
| Remove | Trash icon to delete the serial entry |
Duplicate Handling
Each serial number must be unique per pickup. If you scan a serial that already exists for the same pickup, the system rejects it with an error message.
Note
The same serial number can be recorded against different pickups — the uniqueness constraint is per serial + pickup combination.
Common Tasks
Scan serials for a new pickup
- Select the customer from the dropdown.
- Check the pickup(s) you want to scan for.
- Click Start Scanning.
- Scan each device's barcode — serials appear in the table as they're added.
Remove an incorrectly scanned serial
- Find the serial in the scanned serials table.
- Click the trash icon in the last column.
- The serial is deleted immediately.
Scan for multiple pickups at once
- Select the customer.
- Check all relevant pickups.
- Click Start Scanning.
- Scanned serials are associated with the selected pickups.
Troubleshooting
| Issue | Solution |
|---|---|
| "No pickups found for this customer" | The customer may not have any pickups in the system, or all pickups are in a status that doesn't allow scanning. |
| Duplicate serial error | That serial was already scanned for this pickup. Check the table to confirm. |
| Barcode scanner not working | Ensure the cursor is in the serial number input field. Click the field to focus it. |
| Serial table is empty after selecting a customer | You need to click Start Scanning first, then scan serials. Existing serials for the selected pickups are loaded when scanning starts. |