Helpdesk Admin Guide
Overview
This guide covers Helpdesk module configuration — teams, stages, categories, channels, tags, auto-assignment, security groups, and system settings. It's intended for Helpdesk Managers and System Admins.
Last Updated: February 2026 Target Audience: Helpdesk Managers, System Administrators
Teams
Teams organize who handles which tickets. Each team can have its own members, stages, categories, and email alias.
Creating a Team
- Go to Helpdesk → Configuration → Teams
- Click New
- Fill in:
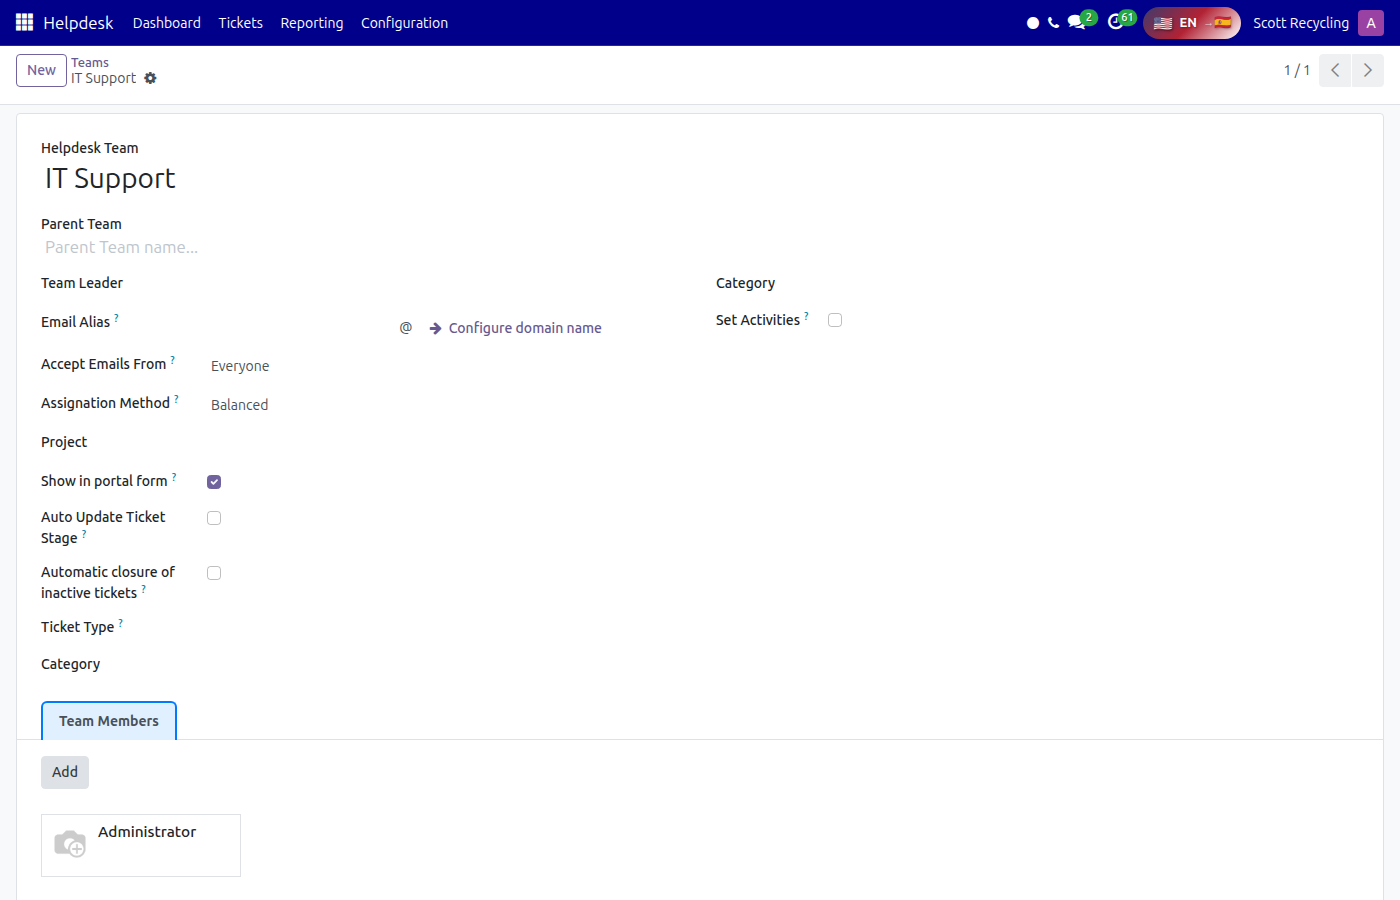
| Field | Description |
|---|---|
| Team Name | Display name (e.g., "IT Support", "Customer Service", "Maintenance") |
| Team Leader | The person responsible for this team |
| Members | Users who can be assigned tickets on this team |
| Company | Company this team belongs to (multi-company setups) |
| Email Alias | Email address that auto-creates tickets for this team (e.g., help@scottrecycling.com) |
| Categories | Limit which categories are available for this team's tickets |
| Show in Portal | Allow portal users (customers) to select this team when submitting tickets |
| Color | Color coding for the dashboard and Kanban views |
| Parent Team | Optional hierarchy — nest teams under a parent for organization |
- Click Save
Email Alias
Each team can have an email alias. Emails sent to that address automatically create tickets assigned to the team. Configure the alias in the team form. The default system alias is help.
Team Dashboard Stats
On the main Dashboard, each team shows:
- To Do — Total open tickets
- Unassigned — Open tickets with no assigned user
- Unattended — Tickets still in "New" stage (nobody started work)
- High Priority — Open tickets with "Very High" priority
Stages
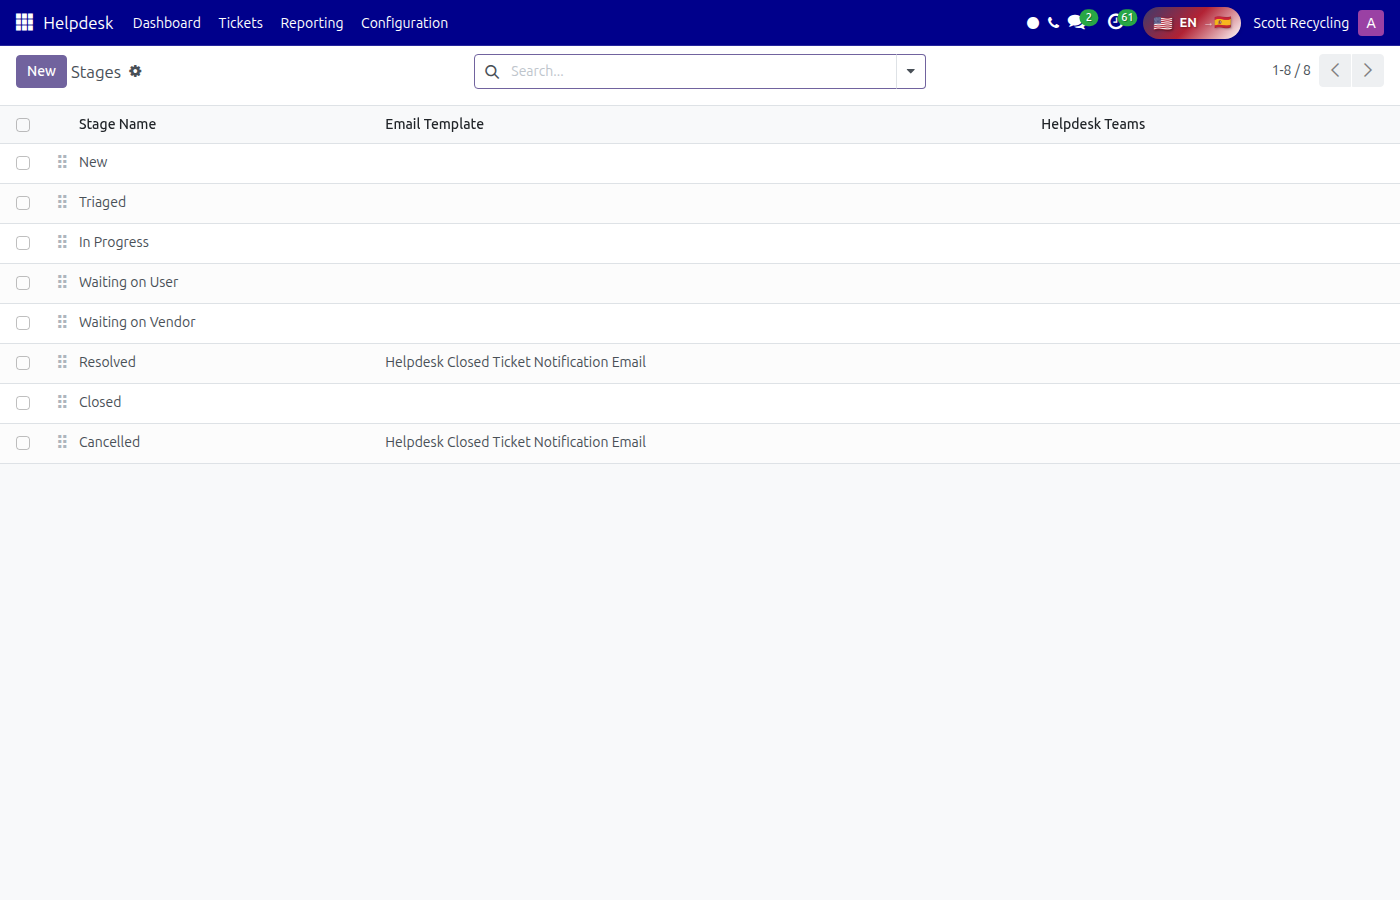
Stages define the workflow that tickets move through. The default stages are:
| Stage | Sequence | Unattended | Closed | Fold | Close from Portal |
|---|---|---|---|---|---|
| New | 1 | Yes | No | No | No |
| In Progress | 2 | No | No | No | No |
| Awaiting | 3 | No | No | No | No |
| Done | 4 | No | Yes | Yes | Yes |
| Cancelled | 5 | No | Yes | Yes | Yes |
| Rejected | 6 | No | Yes | Yes | No |
Creating or Editing Stages
- Go to Helpdesk → Configuration → Stages
- Click New or open an existing stage
- Configure:
| Field | Description |
|---|---|
| Stage Name | Display name |
| Sequence | Order in the pipeline (lower = earlier) |
| Unattended | If checked, tickets in this stage count as "unattended" on the dashboard |
| Closed | If checked, tickets in this stage are considered resolved. Sets closed_date. |
| Close from Portal | Allow portal users to close their ticket by moving it to this stage |
| Folded in Kanban | Collapse this column in Kanban view when empty |
| Email Template | Send an automatic email when a ticket reaches this stage |
| Helpdesk Teams | Limit this stage to specific teams. Leave empty for all teams. |
| Company | Company this stage belongs to |
Stage Email Templates
Three built-in email templates are available:
| Template | When It Sends |
|---|---|
| Ticket Assignment | When a user is assigned to a ticket |
| Closed Ticket Notification | When a ticket reaches a closed stage (Done, Cancelled, Rejected) |
| Changed Stage Notification | When a ticket moves to a new stage |
Assign a template to a stage by setting the Email Template field. The email is sent to the ticket's contact automatically.
Reordering Stages
Change the Sequence number on each stage to reorder them. Lower numbers appear first (leftmost in Kanban).
Categories
Categories organize tickets by topic or department.
- Go to Helpdesk → Configuration → Categories
- Click New
- Enter a Name (e.g., "IT", "Billing", "Equipment", "Customer Complaint")
- Optionally set a Company
- Click Save
Suggested Categories
Start with broad categories that match your departments or request types:
- IT / Software — Computer issues, Odoo problems, printer issues
- Equipment / Maintenance — Physical equipment failures
- Customer Service — Customer complaints, billing questions
- HR / Admin — Employee requests, policy questions
- Facilities — Building, HVAC, plumbing
Channels
Channels track where tickets come from. Four default channels are provided:
| Channel | Use Case |
|---|---|
| Web | Ticket submitted through the portal or Odoo interface |
| Ticket created from an incoming email | |
| Phone | Issue reported over the phone, ticket created manually |
| Other | Walk-ups, in-person reports, other sources |
Managing Channels
- Go to Helpdesk → Configuration → Channels
- Create, edit, or deactivate channels as needed
Channels are useful for reporting — you can analyze which channels generate the most tickets to understand where support requests are coming from.
Tags
Tags are color-coded labels that can be applied to tickets for quick visual identification and filtering.
- Go to Helpdesk → Configuration → Ticket Tags
- Click New
- Enter a Name and pick a Color
- Click Save
Tags are flexible and can represent anything — urgency markers, departments, request types, or workflow states that don't fit the stage model.
Ticket Types
Provided by the helpdesk_type module.
Ticket types add another classification layer (separate from categories). Common types include:
- Question — General inquiry
- Issue — Something is broken or wrong
- Feature Request — Enhancement suggestion
Configure types at Helpdesk → Configuration → Ticket Types.
Auto-Assignment
Provided by the helpdesk_mgmt_assign_method module.
Auto-assignment controls whether new tickets are automatically assigned to the user who creates them.
Configuration
- Go to Helpdesk → Configuration → Settings
- Enable Auto Assign User — when a user creates a ticket and they belong to the ticket's team, the ticket is automatically assigned to them
Without auto-assignment, new tickets are unassigned and must be picked up manually (using "Assign to me" or setting the Assigned User field).
Auto-Close Inactive Tickets
Provided by the helpdesk_ticket_close_inactive module.
A scheduled action (cron job) automatically closes tickets that have been inactive for a configured period.
Configuration
The cron job checks for tickets that haven't had activity (stage changes, messages) within the configured threshold and moves them to a closed stage. Configure the threshold and target stage in the module settings.
This prevents old, abandoned tickets from cluttering the active backlog.
Stage Validation Rules
Provided by the helpdesk_mgmt_stage_validation module.
Stage validation adds rules that control which stage transitions are allowed. For example:
- A ticket can only move to "Done" from "In Progress" (not directly from "New")
- A ticket cannot be "Rejected" once it's "In Progress"
Configure validation rules on each stage to enforce your workflow.
Security Groups
The Helpdesk module uses four security groups in a hierarchy:
| Group | Access Level | What They Can See |
|---|---|---|
| User: Personal Tickets | Basic | Only tickets assigned to them, plus unassigned tickets on their teams |
| User: Team Tickets | Expanded | All tickets on their teams, plus unassigned tickets with no team |
| User | Full | All tickets across all teams |
| Helpdesk Manager | Admin | Everything, plus Configuration and Reporting menus |
Group Hierarchy
Helpdesk Manager
  └── User (all tickets)
        └── User: Team Tickets
              └── User: Personal Tickets
                    └── Internal User (base)
Each higher group inherits all permissions from the groups below it.
Record Rules
| Rule | Applies To | Effect |
|---|---|---|
| Personal Tickets | Personal Tickets group | See own tickets + unassigned tickets on their teams |
| Team Tickets | Team Tickets group | See all tickets on their teams |
| All Tickets | User group | See all tickets |
| Company Rule | Global | Only see tickets in your company |
| Portal Rule | Portal users | See tickets where they are the contact or a follower |
Assigning Groups
- Go to Settings → Users & Companies → Users
- Open the user
- Under the Helpdesk section, select the appropriate group
- Click Save
Settings
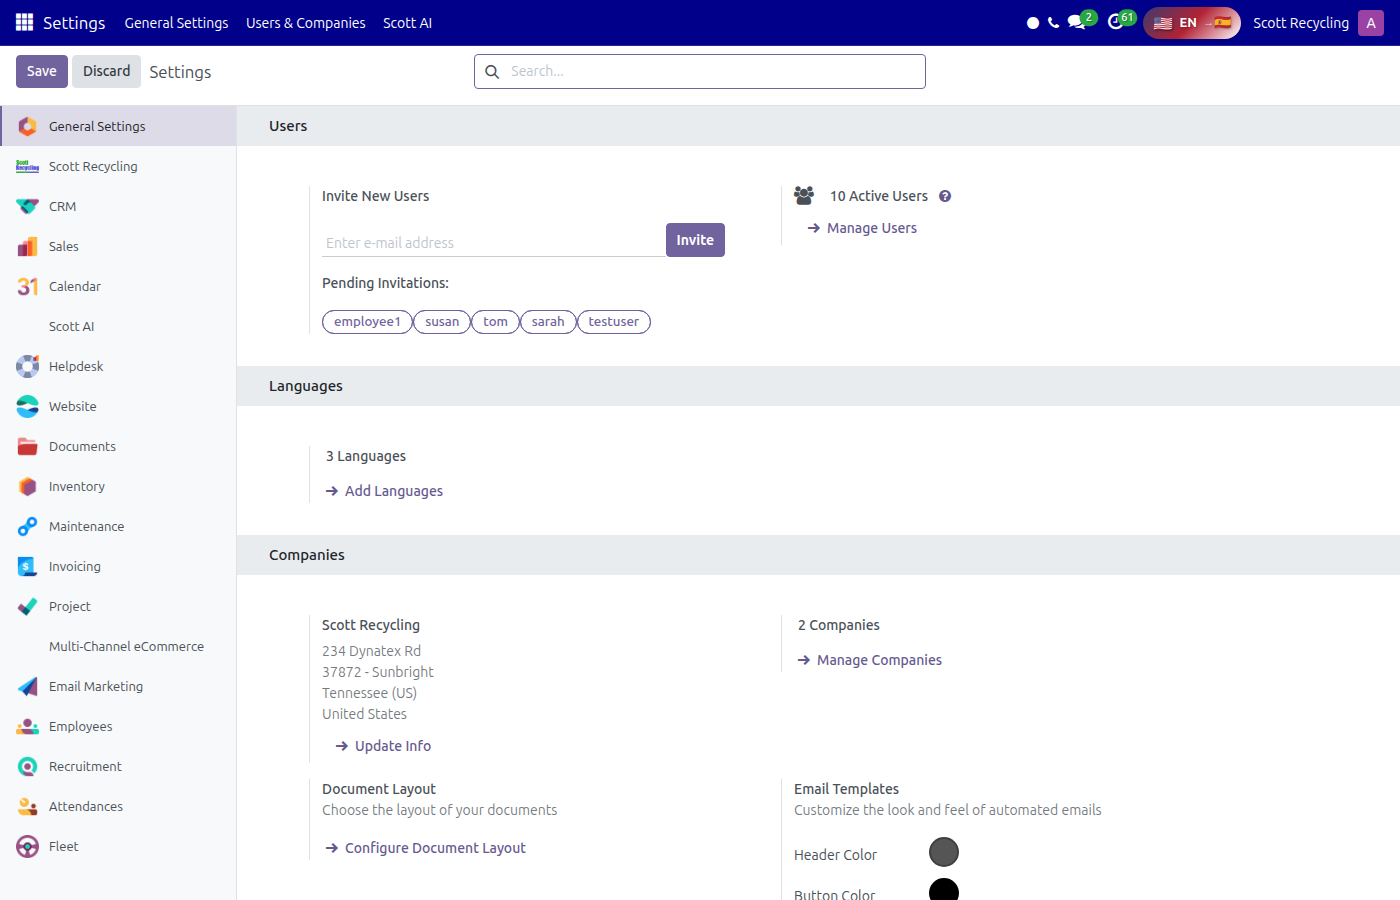
Go to Helpdesk → Configuration → Settings to configure:
| Setting | Description |
|---|---|
| Auto Assign User | Automatically assign tickets to the creator if they're on the team |
Additional settings may be available depending on which helpdesk submodules are installed.
Reporting
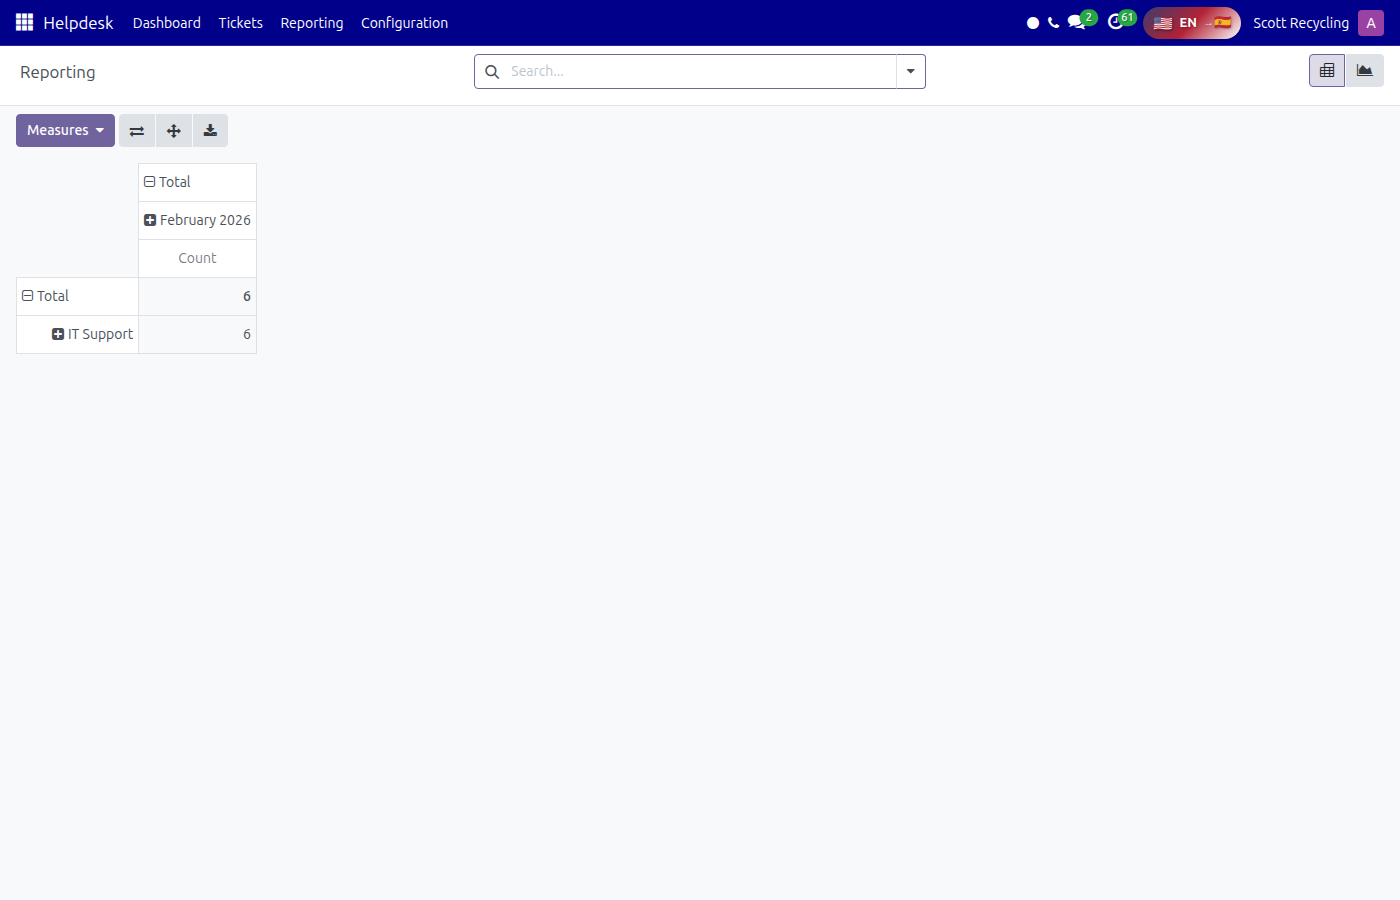
Go to Helpdesk → Reporting → Tickets to access ticket analytics:
Available Views
| View | What It Shows |
|---|---|
| Pivot | Spreadsheet-style analysis — rows and columns with measures |
| Graph | Bar, line, or pie charts of ticket data |
Useful Reports
| Report | How to Build It |
|---|---|
| Tickets by Team | Group By: Team, Measure: Count |
| Tickets by Stage | Group By: Stage, Measure: Count |
| Resolution Rate | Filter: Closed = True, Group By: Month |
| Priority Distribution | Group By: Priority, Measure: Count |
| Channel Analysis | Group By: Channel, Measure: Count |
| Unattended Backlog | Filter: Unattended = True, Group By: Team |
Configuration Checklist for New Setup
When setting up the Helpdesk module for the first time:
- Create helpdesk teams and add members
- Review default stages — add or modify as needed
- Create categories that match your organization
- Set up email aliases for teams that receive tickets by email
- Configure stage email templates for customer notifications
- Create tags for common labels
- Set security groups for each user
- Enable auto-assignment if desired
- Configure auto-close rules for inactive tickets
- Test the portal experience from a customer's perspective
Related Documentation
- Helpdesk User Guide — For all employees who submit or work tickets
- Helpdesk Fundamentals Training — Lesson-based training course
- Helpdesk Sandbox Workout — Hands-on exercises