Shipping
Overview
The Shipping module manages all outbound shipments of reusable electronics and weighted materials from Scott Recycling's warehouse to customers. It tracks shipping containers (boxes and pallets), their contents, weights, verification status, and delivery progress. Shipping is the final step in the warehouse workflow -- items flow here after being processed in Inventory Processing or Weighted Receiving, and after being assigned to sales orders or sales lists.
Last Updated: February 2026 Target Audience: Shipping Clerks, Shipping Coordinators, Warehouse Managers
Shipping Containers
When you open Shipping, you see the Shipping Containers list -- the central view for all outbound containers:
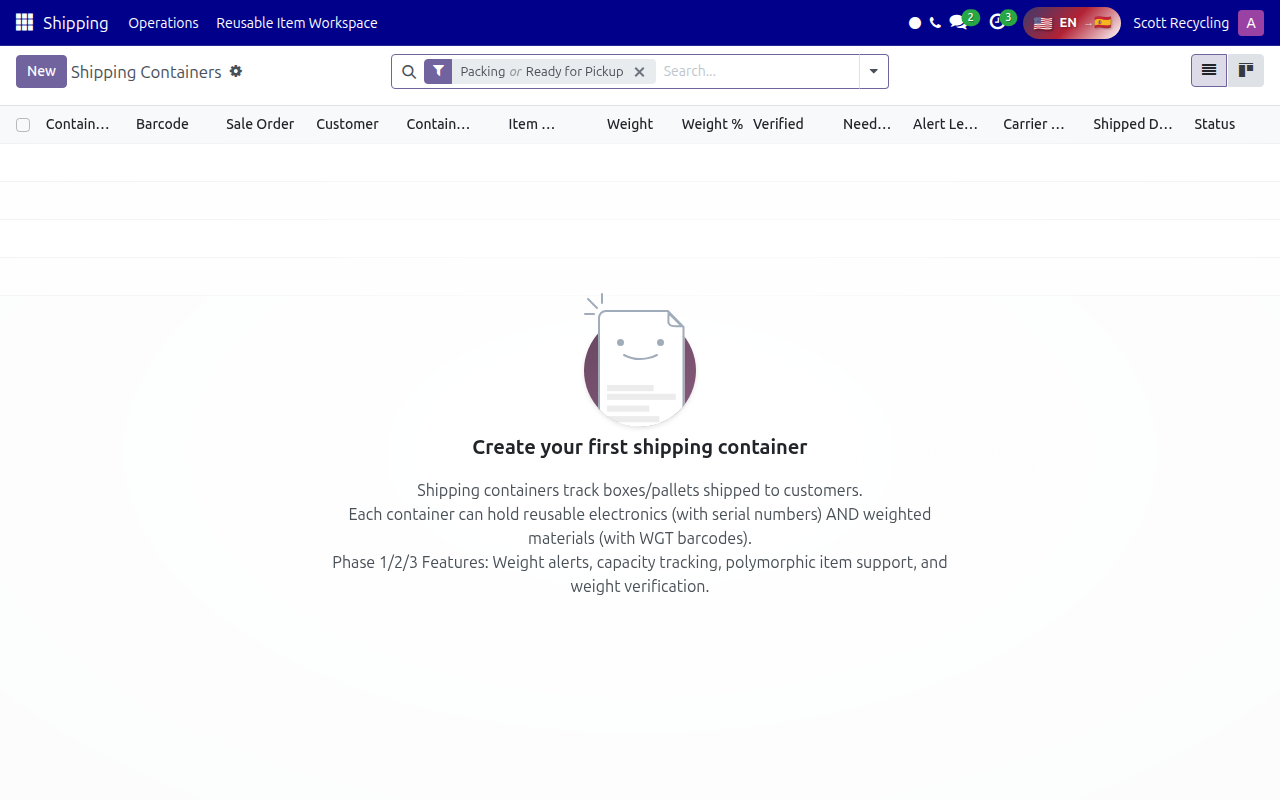
Columns
| Column | Description |
|---|---|
| Container | Container ID/barcode (auto-generated on creation) |
| Barcode | Scannable barcode printed on the physical container label |
| Sale Order | Linked Odoo sales order number |
| Customer | Recipient company or contact name |
| Container Type | Box or Pallet (determines weight targets and handling) |
| Item Count | Number of individual items packed in the container |
| Weight | Total current weight of the container contents |
| Weight % | Percentage of the target weight reached -- helps identify under/over-packed containers |
| Verified | Checkbox indicating the container has passed weight verification |
| Needs Attention | Flag raised automatically when weight discrepancies or other issues are detected |
| Alert Level | Severity indicator: None, Warning (yellow), or Critical (red) |
| Carrier | Shipping carrier (FedEx, UPS, freight, company truck, etc.) |
| Shipped Date | Date the container left the warehouse |
| Status | Current status: Packing, Ready for Pickup, or Shipped |
Container Statuses Explained
| Status | Meaning | What Happens Next |
|---|---|---|
| Packing | Container is actively being filled with items | Continue adding items until weight target is met |
| Ready for Pickup | Container is packed, verified, and waiting for carrier | Carrier arrives, container ships |
| Shipped | Container has left the warehouse | Tracking is active; status is final unless returned |
Creating a New Shipping Container
When to Create a Container
Create a new shipping container when:
- A sales order has been confirmed and items need to be packed for shipment
- A weighted materials sales list has been confirmed and a manifest is needed
- You are packing reusable items for a specific customer order
Step-by-Step: Creating a Container
- Open Shipping from the main Odoo menu
- Click New (top-left corner)
- Select the Customer from the dropdown -- this filters to customers with active sales orders
- Select the Sale Order -- only open/confirmed orders for the selected customer appear
- Choose the Container Type:
- Box -- for smaller shipments, individual devices, or partial orders
- Pallet -- for bulk shipments, heavy loads, or large-volume orders
- Click Save to create the container
- The system auto-generates a container barcode -- print this label and affix it to the physical container
Choosing Box vs. Pallet
| Factor | Use a Box | Use a Pallet |
|---|---|---|
| Weight | Under 70 lbs total | Over 70 lbs or multiple heavy items |
| Item count | 1-10 small/medium devices | 10+ devices or bulky equipment |
| Material type | Laptops, phones, tablets, small electronics | Monitors, desktops, servers, weighted material bales |
| Shipping method | Parcel carrier (UPS, FedEx) | Freight carrier or company truck |
| Stacking | Can be stacked on other boxes | Goes on a pallet jack; cannot be easily stacked |
When in doubt, use a pallet
If the shipment is borderline, default to a pallet. Re-packing from a pallet to a box wastes time, but the reverse (upgrading a box to a pallet) is straightforward.
Adding Items to a Container
Once a container is created and in Packing status, you can add items to it.
Adding Reusable Items (by Serial Number)
- Open the shipping container record
- In the Items tab, click Add a line
- Scan or type the device serial number in the search field
- The system pulls in the item details (manufacturer, model, weight) from Inventory Processing
- Verify the item matches what you are physically packing
- Repeat for each item
Adding Weighted Materials (by WGT Barcode)
- Open the shipping container record
- In the Items tab, click Add a line
- Scan or type the WGT barcode (format:
WGT-YYYYMMDD-XXXXX) - The system pulls in the material type, weight, and description from Weighted Receiving
- Verify the weight and material type match the physical item
- Repeat for each weighted item
Automatic Calculations
As you add items, the system automatically updates:
- Item Count -- total number of line items in the container
- Weight -- running total weight of all items
- Weight % -- percentage of the target weight reached (target is set based on container type and sales order)
Weight Verification
Weight verification ensures that what the system says is in the container matches the actual physical weight. This is a required step before any container can ship.
Step-by-Step: Verifying Weight
- Finish packing all items into the container
- Place the sealed container on the warehouse scale
- Record the actual weight shown on the scale
- Open the container record in the Shipping module
- Enter the actual weight in the Verified Weight field
- Click Verify
- The system compares the entered weight against the calculated weight (sum of all item weights)
Verification Outcomes
| Outcome | What Happens | Action Required |
|---|---|---|
| Weights match (within tolerance) | Container is marked Verified with a green checkmark | None -- proceed to mark Ready for Pickup |
| Minor discrepancy (within 5%) | Warning flag appears, container can still be verified | Review items, note the discrepancy, verify if acceptable |
| Major discrepancy (over 5%) | Container is flagged Needs Attention with a Critical alert | Stop -- investigate before shipping (see Troubleshooting) |
What to Do When Weights Do Not Match
If the actual weight differs significantly from the system weight:
- Re-weigh the container -- scale errors happen; try a second reading
- Check for missing items -- compare the physical contents against the item list in the system; look for items that were supposed to be in this container but were accidentally left on the packing table
- Check for extra items -- look for items physically in the container that are not listed in the system; these may have been scanned into the wrong container
- Verify individual item weights -- if a specific device weight seems wrong in the system (e.g., a monitor listed at 5 lbs), update the item record
- Check the container tare weight -- if using a new box or pallet type, the tare weight in the system may not match the actual container weight
- After resolving the discrepancy, re-verify the container
Reusable Item Workspace
Click Reusable Item Workspace in the top menu to access a dedicated view for managing reusable electronics being prepared for shipment.
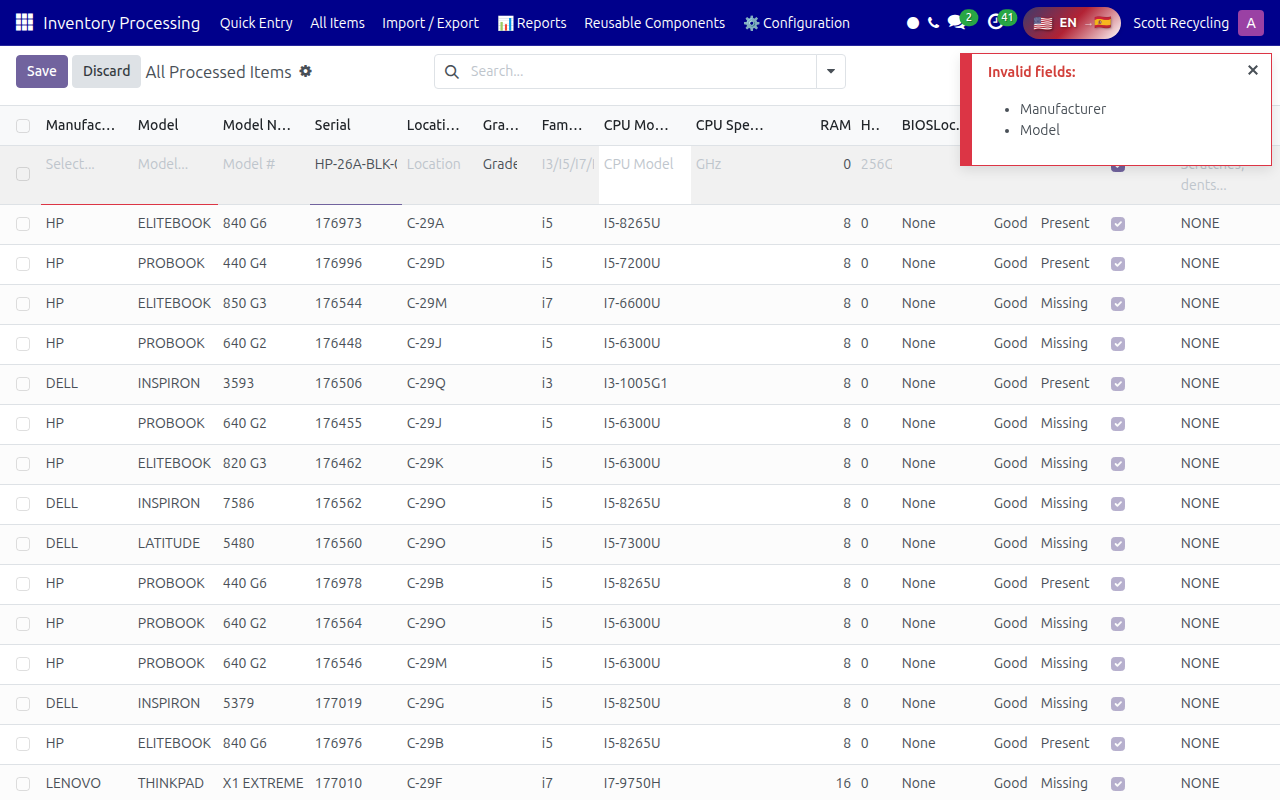
What the Workspace Shows
The Reusable Item Workspace displays all reusable items (laptops, desktops, phones, tablets, networking equipment) that are assigned to sales orders and ready to be packed into shipping containers. This is separate from the container view -- it focuses on the individual items rather than the containers they go into.
Using the Workspace
- Review pending items -- items appear here when they are assigned to a confirmed sales order but have not yet been added to a shipping container
- Assign to container -- select one or more items and assign them to an existing container, or create a new container directly from this view
- Check item status -- verify that each item has been tested, graded, and is physically ready to ship
- Print labels -- generate shipping labels for individual items if required by the customer
When to Use the Workspace vs. the Container View
| Task | Use Workspace | Use Container View |
|---|---|---|
| See what items need to be packed | Yes | No |
| Add items to an existing container | Yes | Yes |
| Verify container weight | No | Yes |
| Check overall shipment status | No | Yes |
| Create a new container | Yes | Yes |
Marking a Container as Shipped
Once a container is packed, verified, and ready, follow these steps to complete the shipment:
- Open the container record
- Verify the Verified checkbox is checked (weight verification must be complete)
- Enter the Carrier name (e.g., FedEx, UPS, freight carrier name, or "Company Truck")
- Enter the Tracking Number provided by the carrier
- Change the status to Shipped
- The Shipped Date is recorded automatically as today's date
- Click Save
No tracking number for company truck deliveries
If the shipment is going on a Scott Recycling truck, enter "Company Truck" as the carrier and leave the tracking number blank or enter the truck name (e.g., "SBT-01").
Top Menu Navigation
| Menu | What It Shows |
|---|---|
| Shipping | Main shipping containers list with all statuses |
| Operations | Shipping operations, workflows, and bulk actions |
| Reusable Item Workspace | Individual reusable items pending shipment |
How Shipping Connects to Other Modules
Shipping is the final outbound step and connects to several upstream modules:
| Upstream Module | How It Connects to Shipping |
|---|---|
| Inventory Processing | Reusable devices processed and graded here become available for sales orders, which feed into shipping containers |
| Weighted Receiving | Weighted materials received here are added to sales lists, which generate manifests and shipping containers |
| Sales Lists | Confirmed sales lists create sales orders and shipping manifests; the manifest's items become the container contents |
| General Sales | Non-computer items sold through General Sales create sales orders that need shipping fulfillment |
| Multi-Channel eCommerce | eBay, Amazon, and website orders flow into the shipping queue for fulfillment |
Typical Flow: Sales Order to Shipped Container
Sales Order confirmed
    ↓
Shipping container created (linked to order)
    ↓
Items packed (scanned into container)
    ↓
Weight verified on scale
    ↓
Carrier and tracking entered
    ↓
Status set to Shipped
KPI Targets
| Role | Daily Target |
|---|---|
| Shipping Clerk | 75 devices/day processed through shipping |
| Shipping Coordinator | 15 devices/day coordinated (complex/multi-container shipments) |
Tips
Use the status filter to manage your workflow
Filter by Packing to see containers that still need items added. Filter by Ready for Pickup to see what is waiting for a carrier. This keeps your view focused on what needs action right now.
Watch the Weight % column
The Weight % column helps you see at a glance which containers are close to their target weight. Containers significantly under target may need more items. Containers over target should be checked -- you may need to split into two containers.
Verify weight before sealing
Always weigh the container before sealing it closed. If you seal first and the weight does not match, you will need to re-open the container to investigate, which wastes time and can damage packaging.
Print container labels immediately
As soon as you create a container, print the barcode label and attach it to the physical box or pallet. Unlabeled containers in the staging area cause confusion and shipping errors.
Troubleshooting
Issue: Weight discrepancy exceeds tolerance
Symptom: After entering the verified weight, the system flags the container with a "Needs Attention" alert and will not allow you to mark it as Ready for Pickup. Cause: The actual weight on the scale differs from the system-calculated weight (sum of all item weights) by more than the allowed tolerance (typically 5%). Fix: 1. Re-weigh the container on a different scale if available to rule out scale error 2. Open the container record and compare each line item against what is physically in the container 3. Remove any items from the system that are not physically present, or scan in any items that are physically present but not listed 4. If a specific item's recorded weight is incorrect, update the item weight in Inventory Processing or Weighted Receiving, then return to the container and re-verify 5. After corrections, enter the new verified weight and click Verify again
Issue: Item barcode does not scan or is not found
Symptom: You scan a serial number or WGT barcode when adding items to a container, but the system returns "No records found" or does not populate the line. Cause: The item may not exist in the system, the barcode label may be damaged or printed incorrectly, or the item may already be assigned to a different container. Fix: 1. Try typing the barcode manually instead of scanning -- the label may be smudged or damaged 2. Search for the item in Inventory Processing (for reusable items) or Weighted Receiving All Inventory (for WGT items) to confirm it exists 3. If the item exists but is already assigned to another container, check whether it was accidentally scanned into the wrong container and remove it there first 4. If the item does not exist in the system at all, it needs to be entered through the appropriate receiving module before it can be added to a shipping container 5. If the barcode label is damaged, print a new label and re-affix it to the item
Issue: Duplicate item in container
Symptom: The same serial number or WGT barcode appears twice in a container's item list. Cause: The item was accidentally scanned twice, or the barcode was entered manually after being scanned. Fix: 1. Open the container record 2. Review the Items tab for duplicate line entries 3. Delete the duplicate line (click the trash icon on the extra line) 4. Save the container -- the weight and item count will recalculate automatically 5. Re-verify the container weight if it was previously verified
Issue: Container shows 'Needs Attention' but weight is correct
Symptom: The container has a yellow or red flag in the Needs Attention column even though the weight verification passed. Cause: The flag may be triggered by something other than weight -- for example, a missing carrier, an incomplete sales order, or an item with an unresolved issue (e.g., BIOS lock, missing grade). Fix: 1. Open the container record and read the alert message at the top of the form 2. Check that the Carrier and Sale Order fields are filled in 3. Review each item in the Items tab -- look for any items with warning icons 4. Resolve the underlying issue (complete the sales order, clear the item issue, etc.) 5. The Needs Attention flag should clear automatically once the issue is resolved
Issue: Cannot change status to Shipped
Symptom: The status dropdown does not allow you to select "Shipped," or the save fails when you try to change the status. Cause: The container has not been verified, or required fields (carrier, tracking number for non-company-truck shipments) are missing. Fix: 1. Confirm the Verified checkbox is checked -- weight verification must be complete 2. Ensure the Carrier field is filled in 3. If using an external carrier (not company truck), enter the Tracking Number 4. If all fields are filled and the status still will not change, check for error messages in the red banner at the top of the form
Issue: Container is full but more items need to ship
Symptom: You have more items to pack for a sales order, but the current container is at or over its target weight. Cause: The order has more items than can fit in a single container. Fix: 1. Verify and close the current container (mark it Ready for Pickup) 2. Create a new container linked to the same sales order and customer 3. Continue packing remaining items into the new container 4. Both containers will be linked to the same sales order, so the customer receives a complete shipment across multiple containers
Questions? Contact your supervisor or refer to the Getting Started guide.